In today's fast-paced development environment, integrating Spring Boot with MongoDB provides unmatched efficiency and flexibility. By leveraging Spring Boot's auto-configuration and MongoDB’s flexible NoSQL schema, developers can build highly scalable applications that handle both structured and unstructured data with ease.
Spring is a Java application framework based on the MVC architecture (Model-View-Controller). In MVC:
The Model represents data structure.
The View handles the presentation, separating it from business logic.
The Controller processes requests and interacts with the service layer for business logic.
Spring Boot, built on top of Spring, is commonly used for REST APIs. It has four layers:
Presentation layer: Front-end
Business layer: Logic and validation
Persistence layer: Maps business objects to database entities
Database layer: Manages CRUD operations
MongoDB is the most popular NoSQL database. MongoDB’s flexible schema efficiently handles structured and unstructured data. Spring's connectors simplify database operations with MongoDB.
How does MongoDB connect to Spring Boot?
To make the connection between MongoDB and the Spring Boot application, you need to make use of the MongoTemplate class and MongoRepository interface.
The MongoTemplate class is part of the Spring Data MongoDB module and provides a powerful way to interact with MongoDB. It’s a template class that acts as an abstraction layer over MongoDB operations and allows you to perform basic CRUD operations, as well as more complex queries and aggregations.
MongoRepository is an interface that is also part of the Spring Data MongoDB module and extends the CrudRepository and PagingAndSortingRepository interfaces. It provides a higher-level abstraction over MongoDB operations than MongoTemplate, focusing on the repository pattern to work with data.
In either case, configuring Spring Boot with MongoDB only takes a few lines of code.
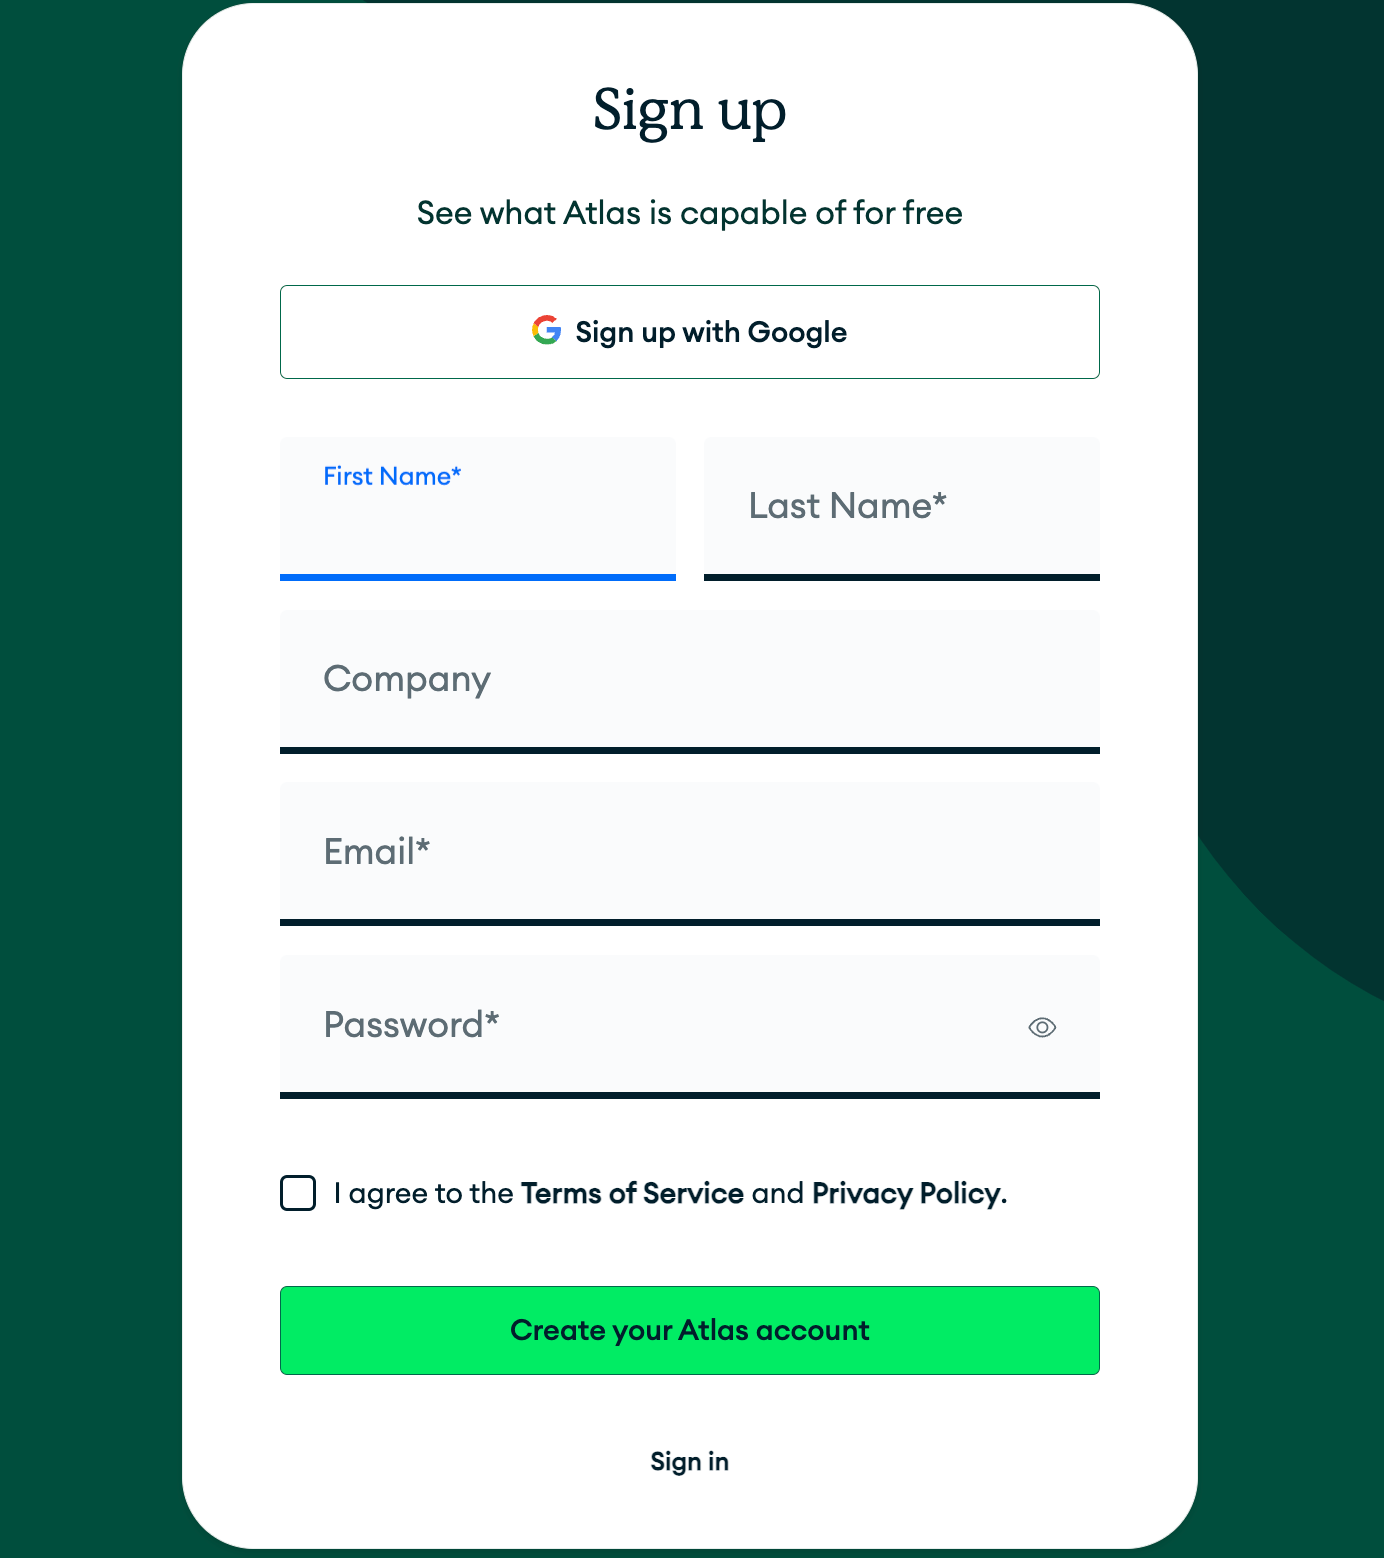
Prerequisites for building the Spring Boot application
The screenshot represents steps to sign up to create an Atlas account
Step 2: Fill in all the details and start by creating your first cluster.
Screen representing creating a free M0 cluster
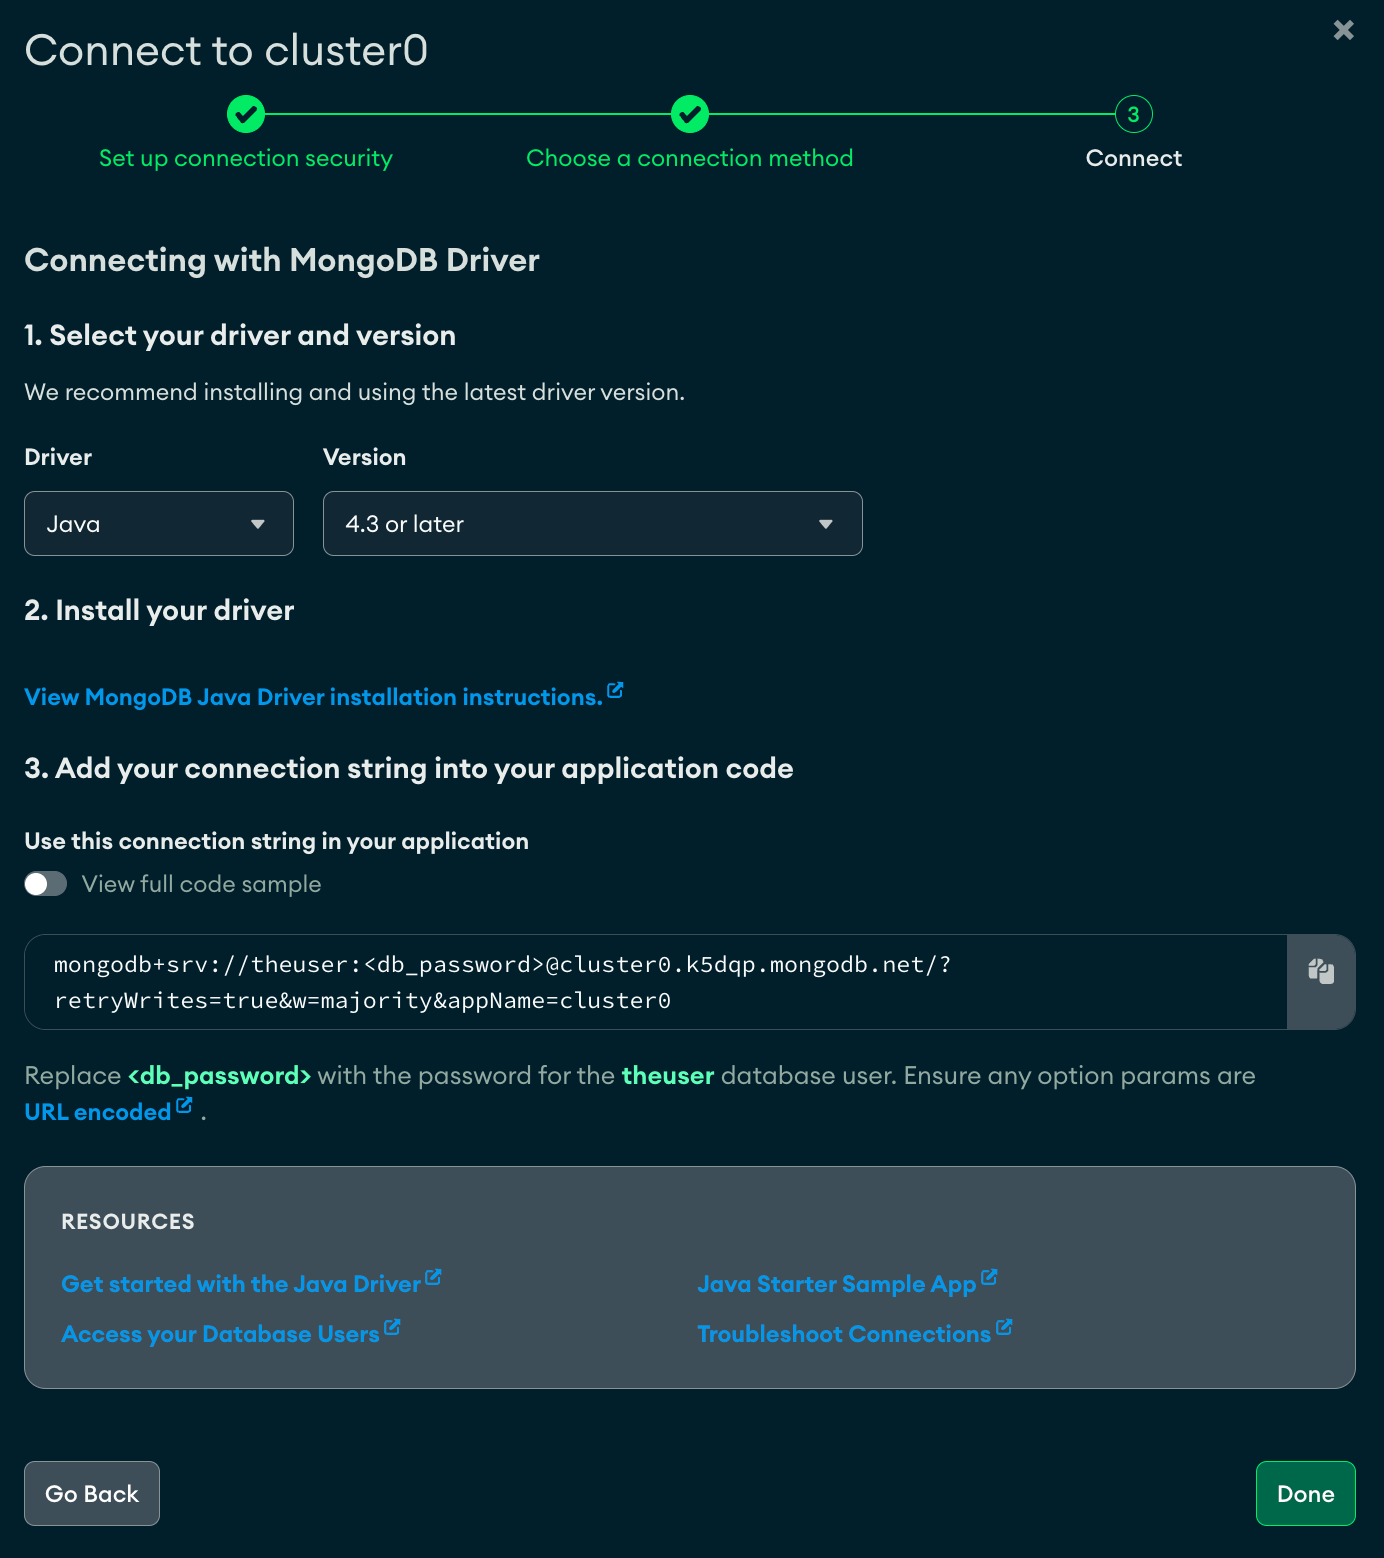
2.Retrieving MongoDB connection URI
The next step is to make the connection to the MongoDB Atlas database. To make the connection, we need to get the connection string for a cluster, which can be found in the Atlas UI.
Screenshot representing steps to get the connection URI for the application
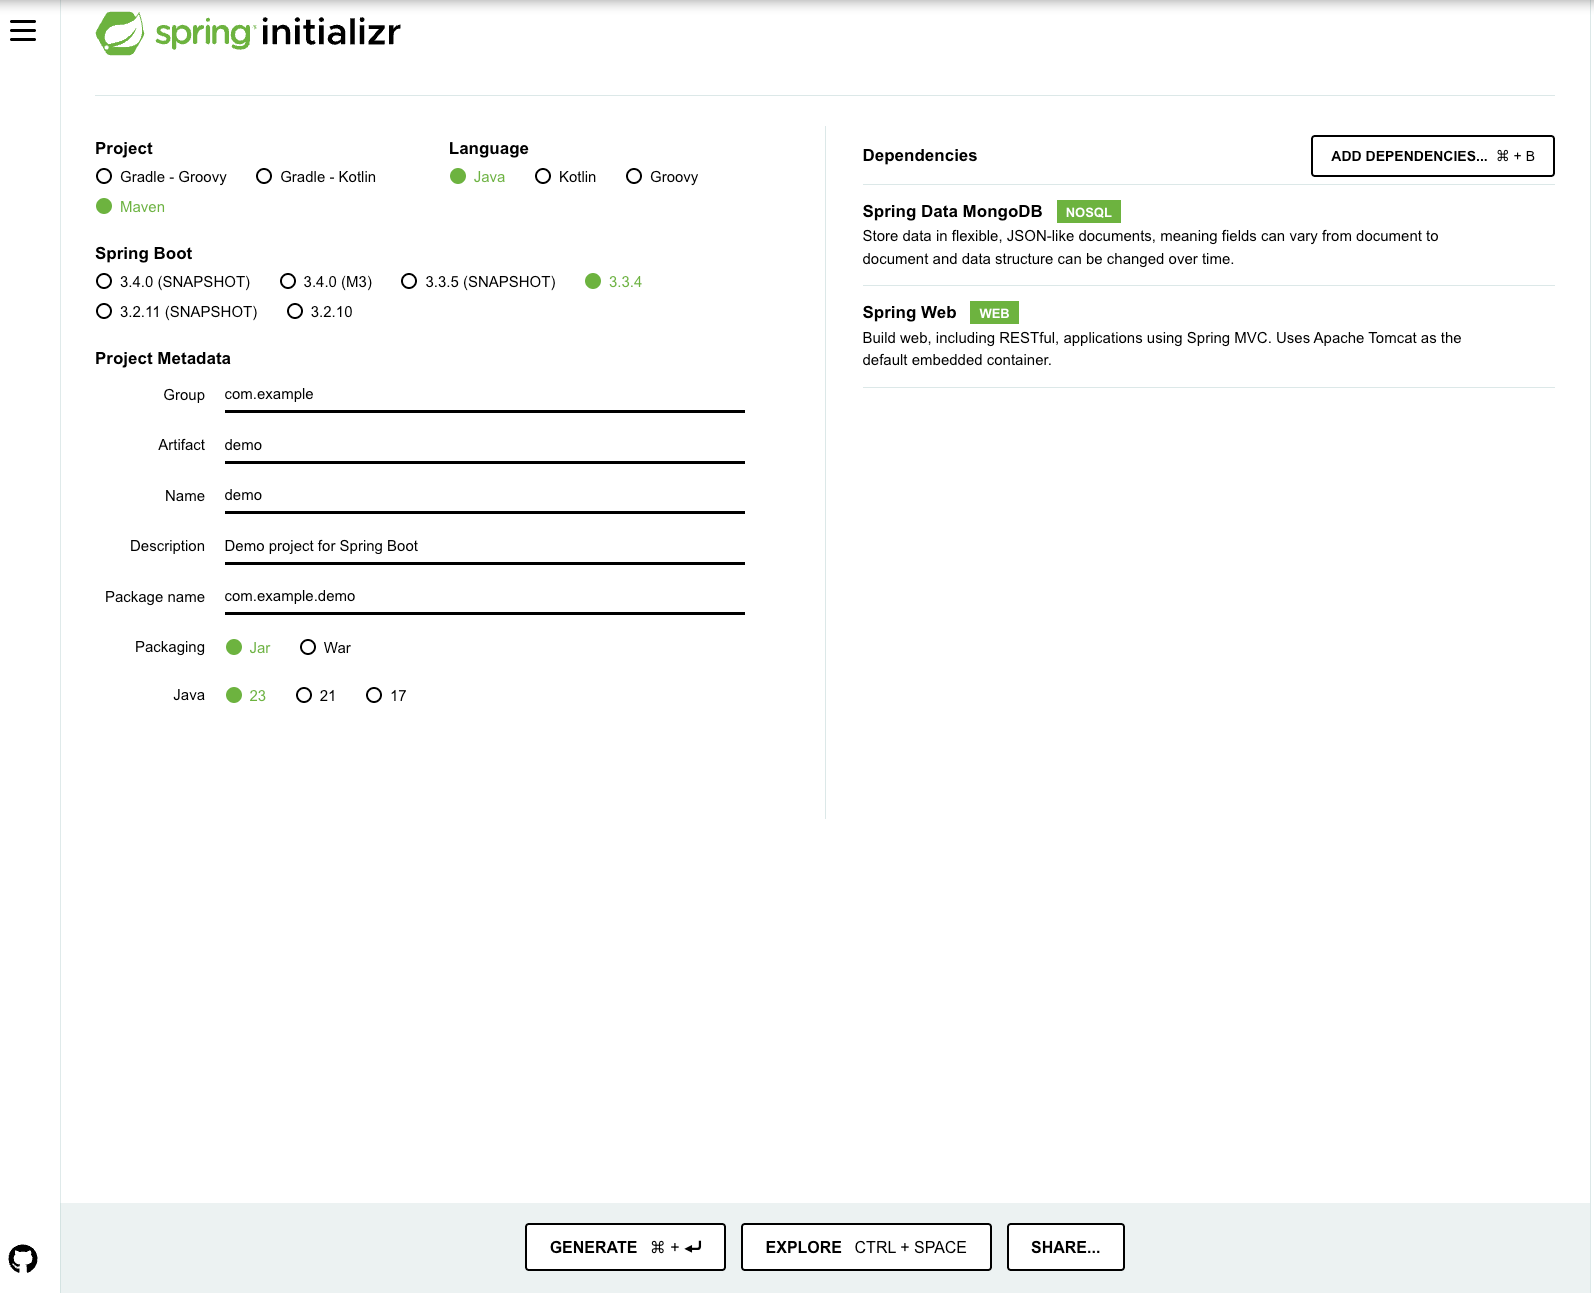
Getting started with Spring Initializr
To create a Spring Boot project, you will first need to start with the Spring Initializr. This takes care of generating the pom.xml or Gradle file depending on what you choose.
Once you go to Spring Initializr, you will land on the page as shown in the below screenshot. Add the dependencies as shown and click on Generate.
Screenshot representing steps on generating a Spring Boot application
Enter the project metadata (as shown in the image above) and select the JAR option. This JAR will add Spring Boot MongoDB configurations so that we can use Spring Boot with MongoDB.
You can extract and open it with your favorite IDE.
Connecting Spring Boot to MongoDB Atlas
After you get the connection from MongoDB Atlas UI, paste the string into the application.properties files. There is no need to write connection-related code in any other file. Spring Boot takes care of the database connection for us.
In addition, we also need to put the database here. If it doesn't exist, MongoDB will create one.
Building the SpringBoot model class
Creating the GroceryItem model
To build the Spring Boot project, we start with the model class. The class of the MVC architecture is where we map the Plain Old Java Objects or POJOs. This class works with the data stored in the MongoDB collection and is also used to transfer data between the view and controller of the Spring MVC application.
In our project, we will be creating a GroceryItem.java class where the objects have been mapped to be used inside the application.
If you look at the above code, it has an @Document annotation to specify the collection name that will be used by the model. If the collection doesn't exist, MongoDB will create it.
Following that, it mentions all the field values with their datatypes. You'll also note that in the above sample, the primary key in our MongoDB document is specified using the @Id annotation. If we don't do this, MongoDB will automatically generate an _id when creating the document.
This class also has all the getters and setter methods used in the application defined, along with the constructor methods, if any.
To implement the APIs and perform the desired functionality, the code for implementing the business logic goes inside the repository code. It acts as a link between the model and the database and has all the methods for CRUD operations.
To implement that, we first create an ItemRepository public interface that extends the MongoRepository interface.
The first method, findItemByName, requires a parameter for the query, i.e., the field by which to filter the query. We specify this with the annotation @Query. The second method uses the category field to get a particular category's items. We only want to project the field's name and quantity in the query response, so we set those fields to 1. We reuse the method count() as it is.
2.Using MongoRepository methods for CRUD
The next step is to make the connection to the MongoDB Atlas database. To make the connection, we need to get the connection string for a cluster, which can be found in the Atlas UI.
We will configure credentials inside the application properties to connect to the databases. Spring Data MongoDB provides keys to configure the database connection.
After you get the connection from MongoDB Atlas UI, paste the string into the application.properties files. There is no need to write connection-related code in any other file. Spring Boot takes care of the database connection for us.
This class MdbSpringBootApplication implements the CommandLineRunner interface to run the Spring application. ItemRepository is autowired, allowing Spring to find it automatically.
Spring initializes the application context using the @SpringBootApplication annotation. We also activate the Mongo repositories using @EnableMongoRepositories. Our project structure should be similar to the below structure now:
Screenshot representing the project structure
Let's now add the repository methods to the main class for CRUD operations.
Performing create operations with MongoDB
To perform the CRUD operations, start with creating a new document and saving it into the MongoDB collection. To do so, it makes use of the save method. The save method is available to us through the SimpleMongoRepository class, which implements the MongoRepository interface.
The save method takes the GroceryItem object as a parameter.
The code above creates five different sample documents and saves them in the MongoDB database.
Read operations in MongoDB with Spring Boot
After the data is present inside the database, you need to read the data from the collection. The read code present in the main class covers four different cases:
And lastly, if you wish to count the number of documents being returned…
4.Counting documents in the collection
xxxxxxxxxx
5
1
publicvoidfindCountOfGroceryItems() {
2
longcount=groceryItemRepo.count();
3
System.out.println("Number of documents in the collection = "+count);
4
}
5
Update operations in MongoDB
1.Updating documents with saveAll()
This explains the MongoDB method to make an update to the document saved inside the database.
For example, to change the category from "snacks" to "munchies," we first need to find all documents with the category "snacks," set their categories to "munchies," and then save all the modified documents.
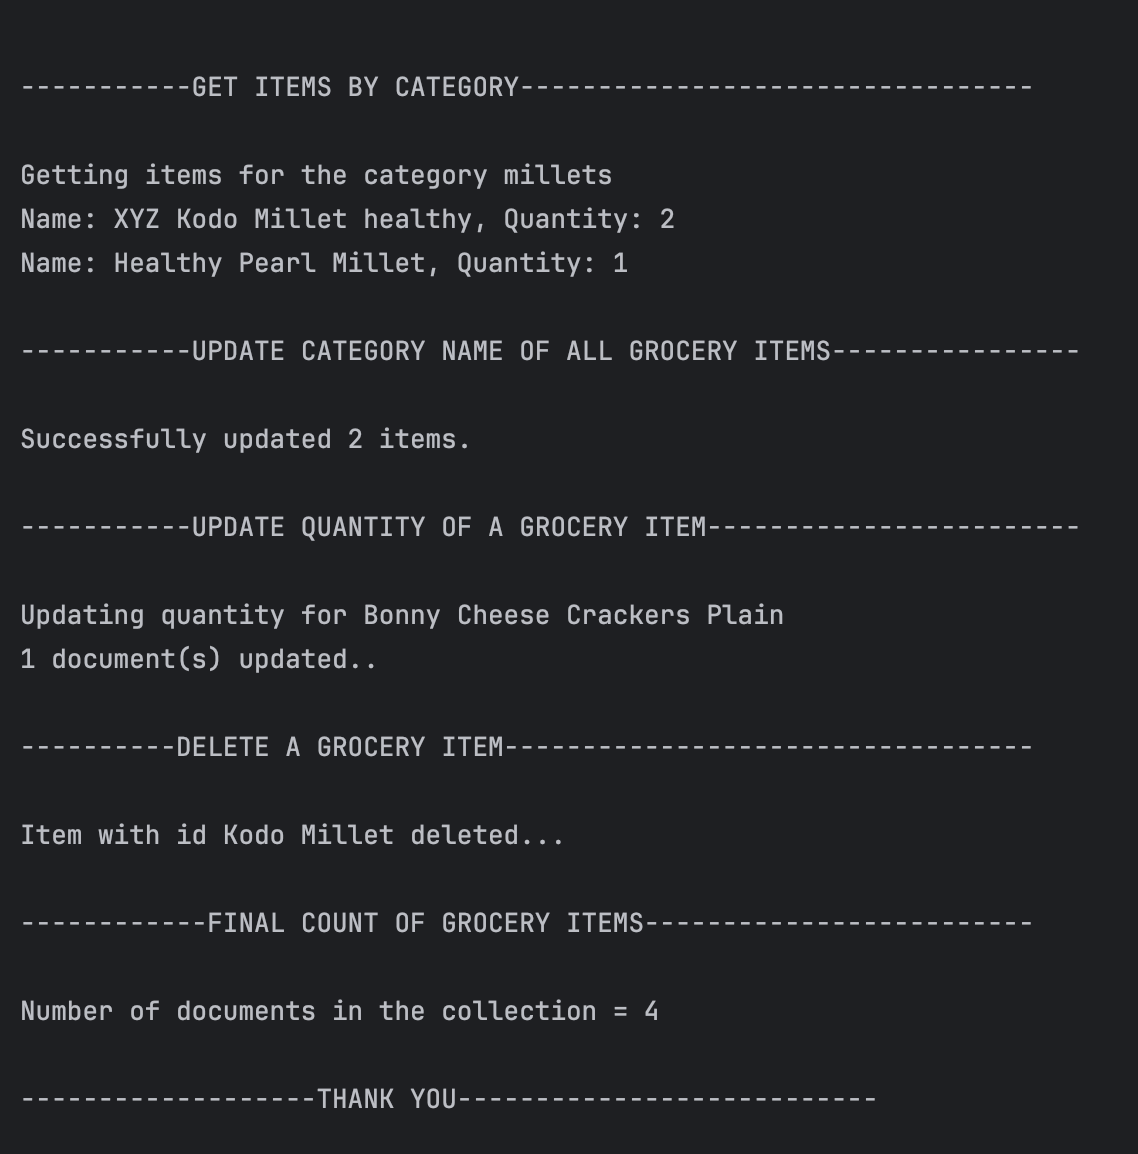
This code snippet helps you identify the response for each of the CRUD operations and gives you the response as:
Screenshot representing the output screen
And:
The screenshot represents the output screen
Update using MongoTemplate
The update operation that we saw in the earlier code example was performed using MongoRepository code. However, there is more than one method to perform the update. This is using the MongoTemplate class.
The nice thing about MongoTemplate is that the update can be done in a single database interaction.
To use MongoTemplate, we create a custom repository where we build the update query.
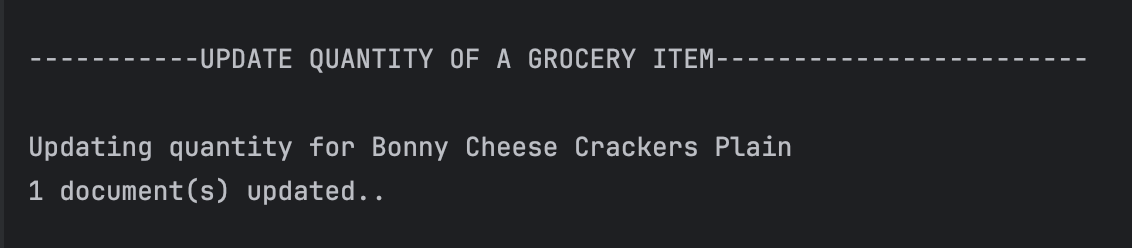
Let's write a method to update the quantity of a grocery item. For this, we create a new Java class as CustomItemRepository.java.
Screenshot represents the output screen for an update operation
The difference between updates of the two methods is how the operations happen. For example, in the MongoRepository method, we had to do three operations (find, set, save), while in the latter method, we update in a single database transaction!
Conclusion: Why Spring Boot and MongoDB are ideal for modern applications
We’ve covered the fundamental concepts of integrating Spring Boot with MongoDB, along with building a complete Spring Boot application. For further exploration beyond the Spring Boot starter or to dive deeper into the core capabilities of Spring Data, you can refer to our handy guide.
FAQ
How do I make the connection between the Spring Boot application and MongoDB?
To make the connection between your Spring Boot app and MongoDB, you should have two things:
Spring Data MongoDB configurations in the pom.xml or Gradle configurations files
The connection string with the correct driver version and database configurations in an application.properties file
What is the use of MongoTemplate in Spring Boot?
The MongoTemplate in Spring Boot allows you to perform operations like CRUD, aggregations, and queries with the MongoDB database from the application end.
What are the different annotations used in Spring Boot with MongoDB?
Different annotations that are used in Spring Boot applications with MongoDB are:
@Document: This marks the class as the MongoDB document and is generally used in the model class.
@Id: This is to represent the MongoDB _id in the model class.
@Query: This is used to define complex queries on the MongoDB repository class.
@EnableMongoRepositories: This annotation is useful to enable the Spring Data repositories in the application.
How will you connect a Spring Boot application to MongoDB in a Gradle properties file?
To connect your Spring Boot application in the Gradle setup, you need to add the following to the grade.build file and then add the URI to the application.properties file.
The Spring Boot framework is used to create production-ready web applications with default configurations. Developers need not write extensive code. Spring Boot significantly reduces the development time. It automatically adds commonly used libraries for web applications, such as:
spring-webmvc.
tomcat.
validation-api.
Spring Boot also has embedded servlet container support. We can run Java programs as a standalone application by adding the spring-boot-starter-web dependency in pom.xml.
Where should I go from here?
Whether you're just learning Spring Boot or a Spring expert, MongoDB has you covered. To find more Spring Boot tutorials, information on the underlying Spring framework, or sample applications using Spring, refer to the following: