Quick Start with Electron
On this page
Overview
This page contains information to integrate Realm into your Electron application quickly. To learn how to set up an Electron application with Realm without using any additional frameworks, see the Electron set up instructions. If you have already created an application using Create React App or are interested in integrating a React App with Realm using Electron, check out the Electron with React set up instructions.
Before you begin, ensure you have:
Note
Version Requirement
Realm works with any of the officially supported Electron versions. We recommend using the latest stable release. To see the officially supported Electron versions, check out the Electron Releases document.
Setup
Set up Your Application Files
To begin developing your application, create an application directory:
mkdir myElectronApplication
Create an index.html, main.js, and renderer.js file in the root
directory of your application.
touch index.html main.js renderer.js
The main.js file is the entry point into your application and
executes on the main process. It is responsible for loading your index.html
file into Electron's BrowserWindow API. Any script files that
you require in this HTML file will execute on a renderer process.
Add the following to your index.html file:
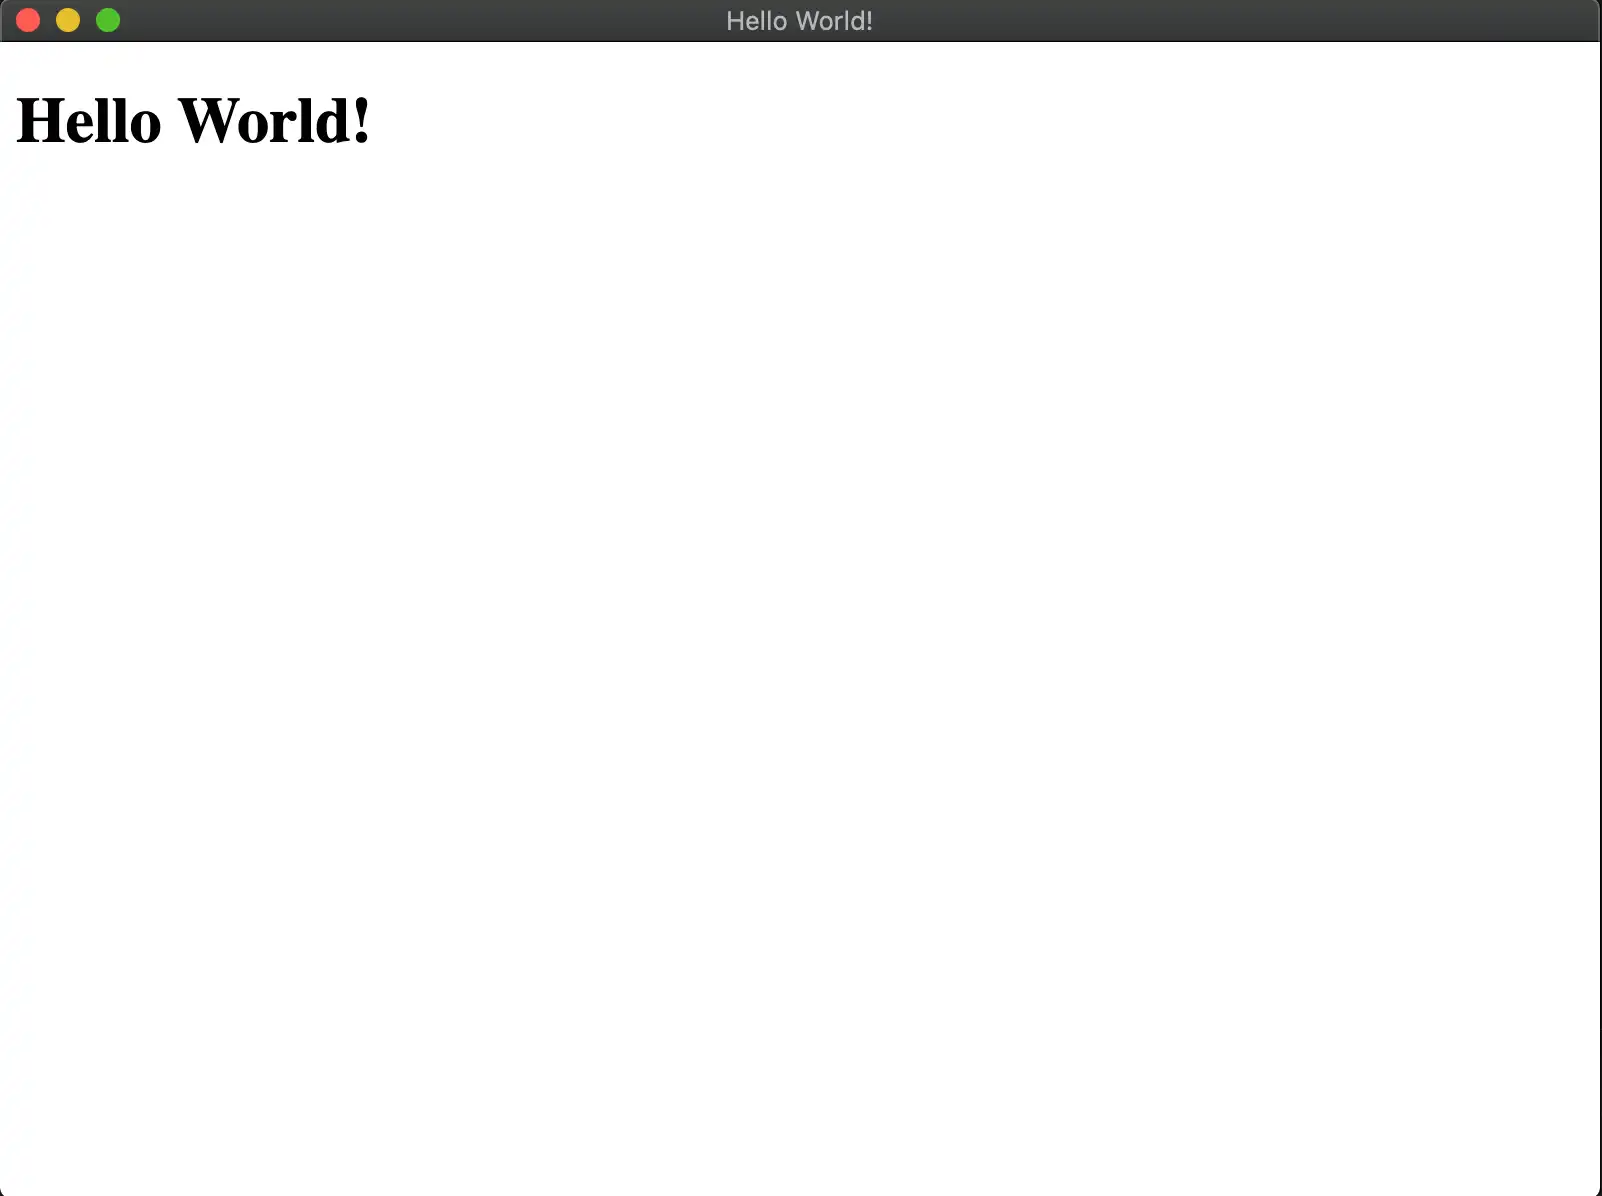
<!DOCTYPE html> <html> <head> <meta charset="UTF-8" /> <title>Hello World!</title> </head> <body> <h1>Hello World!</h1> <script src="renderer.js"></script> </body> </html>
Add the following code to the renderer.js file:
const Realm = require("realm");
Note
Each Electron application can only have one main process. The
main process creates web pages. Each web page runs in its
own process, known as a renderer process. To learn more about
this, read the official Electron Process Model
document.
Create the Main Script File
The main.js file is the entry point of your application. Create an
Electron BrowserWindow in it and load your index.html file to display your
HTML to users:
const { app, BrowserWindow } = require('electron') function createWindow () { const win = new BrowserWindow({ width: 800, height: 600, webPreferences: { nodeIntegration: true, contextIsolation: false } }) // to prevent the Sync Connection from ending prematurely, start reading from stdin so we don't exit process.stdin.resume(); win.loadFile('index.html') } app.whenReady().then(createWindow)
Set up a package.json
Initialize a package.json to begin installing packages and using them
in your project. Run the following command in your terminal:
npm init -y
Your application file structure should resemble the following:
. |-- package.json |-- package-lock.lock |-- index.html |-- main.js // runs on the main process |-- renderer.js // runs on a renderer process
The file main.js executes on the main process. The file
renderer.js and any other files required by it, or by index.html,
executes on a renderer process.
Open a Realm
Authenticate a user, define a schema, and sync enabled Device Sync, then call Realm.open() in your renderer.js file.
Once you have opened the realm, you can write to the realm.
const app = new Realm.App({ id: "<Your App ID>" }); // create a new instance of the Realm.App async function run() { // login with an anonymous credential await app.logIn(Realm.Credentials.anonymous()); const DogSchema = { name: "Dog", properties: { _id: 'int', name: "string", age: "int", }, primaryKey: '_id' }; const realm = await Realm.open({ schema: [DogSchema], sync: { user: app.currentUser, partitionValue: "myPartition", }, }); // The myPartition realm is now synced to the device. You can // access it through the `realm` object returned by `Realm.open()` // write to the realm } run().catch(err => { console.error("Failed to open realm:", err) });
Note
For an example of writing to a realm from both the renderer and main
processes, check out the realm-electron-advanced-quickstart
repository.
Note
Current React Native binaries are included in the realm package. You can
remove the binaries and the react-native directory from the build. In your
package.json file, add a build.files entry and set its value to
!**/node_modules/realm/react-native.
