Electron によるクイック スタート
項目一覧
Overview
このページには、Realm を Electron アプリケーションに迅速に統合するための情報が含まれています。 追加のフレームワークを使用せずに Realm で Electron アプリケーションを設定する方法については、 Electron 設定手順を参照してください。 「 React App を使用してすでにアプリケーションを作成 している場合」 または、Electron を使用して React アプリを Realm と統合することに懸念されている場合は、 Electron と React の設定 手順を確認してください。
始める前に、以下のものがあることを確認してください。
注意
バージョン要件
Realm は、公式にサポートされている Electron バージョンのいずれかで動作します。 最新の安定版リリースを使用することをお勧めします。 公式にサポートされている Electron のバージョンを確認するには、 Electron リリース を確認してください ドキュメント。
セットアップ
アプリケーション ファイルを設定する
アプリケーションの開発を開始するには、アプリケーション ディレクトリを作成します。
mkdir myElectronApplication
アプリケーションのルート ディレクトリに index.html 、 main.js 、およびrenderer.jsファイルを作成します。
touch index.html main.js renderer.js
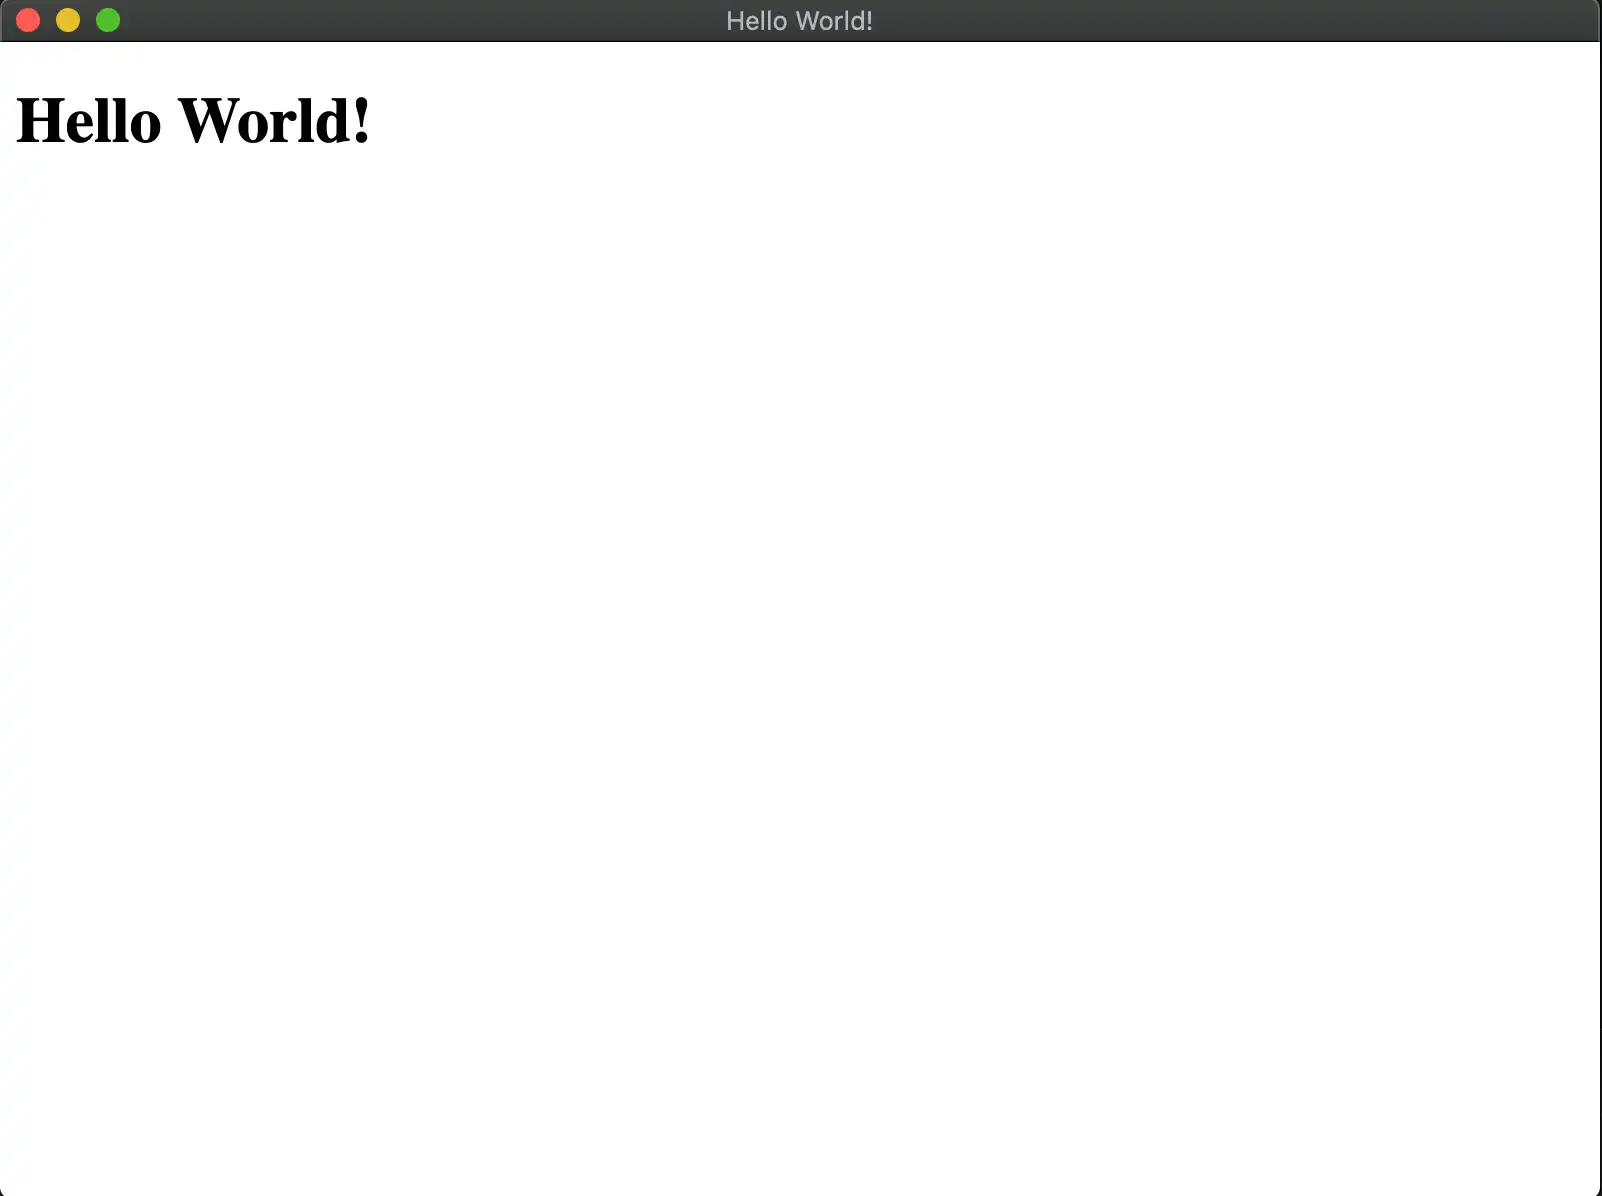
main.jsファイルはアプリケーションへのエントリポイントであり、メイン プロセスで実行されます。 これは、index.html ファイルを Electron の ブラウザウィンドウ API にロードする原因となります。 。この HTML ファイルで必要なスクリプト ファイルはすべて、レンダリング プロセスで実行されます。 以下をindex.htmlファイルに追加します。
<!DOCTYPE html> <html> <head> <meta charset="UTF-8" /> <title>Hello World!</title> </head> <body> <h1>Hello World!</h1> <script src="renderer.js"></script> </body> </html>
次のコードをrenderer.jsファイルに追加します。
const Realm = require("realm");
注意
各 Electron アプリケーションには 1 つのmain processのみを含めることができます。 メインのプロセスはウェブページを作成します。 各ウェブページは、 renderer processと呼ばれる独自のプロセスで実行されます。 これについて詳しくは、公式の Electron プロセス モデル を参照してください ドキュメント。
メインのスクリプト ファイルを作成
main.jsファイルは、アプリケーションのエントリ ポイントです。 その中に Electron ブラウザウィンドウ を作成し、 index.htmlファイルをロードして HTML をユーザーに表示します。
const { app, BrowserWindow } = require('electron') function createWindow () { const win = new BrowserWindow({ width: 800, height: 600, webPreferences: { nodeIntegration: true, contextIsolation: false } }) // to prevent the Sync Connection from ending prematurely, start reading from stdin so we don't exit process.stdin.resume(); win.loadFile('index.html') } app.whenReady().then(createWindow)
を設定する package.json
パッケージのインストールを開始し、プロジェクトで使用するには、 package.jsonを初期化します。 ターミナルで次のコマンドを実行します。
npm init -y
アプリケーション ファイルの構造は、次のようになります。
. |-- package.json |-- package-lock.lock |-- index.html |-- main.js // runs on the main process |-- renderer.js // runs on a renderer process
ファイルmain.jsはmainプロセスで実行されます。 ファイルrenderer.jsおよびそのファイルに必要なその他のファイル、またはindex.htmlによって必要とされるその他のファイルは、 rendererプロセスで実行されます。
Realm を開く
ユーザーを認証し、スキーマを定義し、有効になっている Device Syncを同期し、レンダリング.js ファイルでRealm.open()を呼び出します。
Realm を開くと、Realm に書込み ( write) ができるようになります。
const app = new Realm.App({ id: "<Your App ID>" }); // create a new instance of the Realm.App async function run() { // login with an anonymous credential await app.logIn(Realm.Credentials.anonymous()); const DogSchema = { name: "Dog", properties: { _id: 'int', name: "string", age: "int", }, primaryKey: '_id' }; const realm = await Realm.open({ schema: [DogSchema], sync: { user: app.currentUser, partitionValue: "myPartition", }, }); // The myPartition realm is now synced to the device. You can // access it through the `realm` object returned by `Realm.open()` // write to the realm } run().catch(err => { console.error("Failed to open realm:", err) });
注意
プロセスと プロセスの両方から Realmrenderer mainへの書き込みの例については、 Realm-Electron-Advanced-クイックスタートをご覧 ください リポジトリを使用します。
注意
現在の React Native バイナリはrealmパッケージに含まれています。 ビルドからバイナリとreact-nativeディレクトリを削除できます。 package.jsonファイルにbuild.filesエントリを追加し、その値を!**/node_modules/realm/react-nativeに設定します。
