Instructions
The steps to create a docker cluster are as follows.
- Create a Docker network.
- Start three instances of MongoDB.
- Initiate the Replica Set.
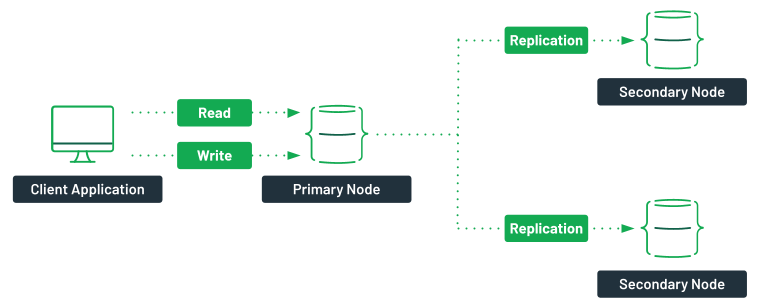
Once you have a MongoDB cluster up and running, you will be able to experiment with it.
Prerequisites
For this tutorial, you will need to have a runtime for containers. You can find the installation instructions for your operating system on the Docker official website.
Create a Docker Network
The first step is to create a Docker network. This network will let each of your containers running in this network see each other. To create a network, run the docker network create command.
The mongoCluster parameter here is the network’s name; you can pick one that is appropriate for your setup.
After executing the command, you should see the id of the network you just created.
Note that this command only needs to run once. If you restart your containers afterwards, you won’t need to recreate this network.
Start MongoDB Instances
You are now ready to start your first container with MongoDB. To start the container, use the docker run command.
In here, you tell docker to start a container with the following parameters:
- -d indicates that this container should run in detached mode (in the background).
- -p indicates the port mapping. Any incoming request on port 27017 on your machine will be redirected to port 27017 in the container.
- --name indicates the name of the container. This will become the hostname of this machine.
- --network indicates which Docker network to use. All containers in the same network can see each other.
- mongo:5 is the image that will be used by Docker. This image is the MongoDB Community server version 5 (maintained by Docker). You could also use a MongoDB Enterprise custom image.
The rest of this instruction is the command that will be executed once the container is started. This command creates a new mongod instance ready for a replica set.
If the command was successfully executed, you should see a long hexadecimal string representing the container id. Start two other containers. You will need to use a different name and a different port for those two.
You now have three containers running MongoDB. You can use docker ps to validate that they are running.
Initiate the Replica Set
The next step is to create the actual replica set with the three members. To do so, you will need to use the MongoDB Shell. This CLI (command-line interface) tool is available with the default MongoDB installation or installed independently. However, if you don’t have the tool installed on your laptop, it is possible to use mongosh available inside containers with the docker exec command.
This command tells Docker to run the mongosh tool inside the container named mongo1. mongosh will then try to evaluate the rs.initiate() command to initiate the replica set.
As part of the configuration object that is passed to rs.initiate(), you will need to specify the name of the replica set (myReplicaSet, in this case), along with the list of members that will be part of the replica set. The hostnames for the containers are the names of the containers as specified by the --name parameter in the docker run command. You can learn more about the possible options for configuring a replica set from the documentation.
If the command was successfully executed, you should see a message from the mongosh CLI indicating the version numbers of MongoDB and Mongosh, followed by a message indicating:
{ ok: 1 }
Test and Verify the Replica Set
You should now have a running replica set. If you want to verify that everything was configured correctly, you can use the mongosh CLI tool to evaluate the rs.status() instruction. This will provide you with the status of your replica set, including the list of members.
You can also connect to your cluster using MongoDB Compass to create a database and add some documents. Note that the data is created inside the container storage and will be destroyed when the containers are removed from the host system. To verify that your replica set is working, you can try stopping one of the containers with docker stop and try to read from your database again.
The data will still be there. You can see that the cluster is still running by using rs.status() on the mongo2 container.
You will still see the replica set, but notice that the first member is now down, and one of the other two members has been elected as the primary node. If you start your container mongo1 again, you will be able to see it back in the replica set, but as a secondary member.